Five steps to Dive Planning
A well planned dive can make the difference between an excellent dive and a mediocre dive. Chances are, when you took your Open Water Diver certification course, you learned to plan a dive with some sort of planning tool—dive tables or a dive computer. That covers depth & time for safety, but there is a lot more to dive planning. Let’s take a look at five steps to dive planning and how they make your dive better.

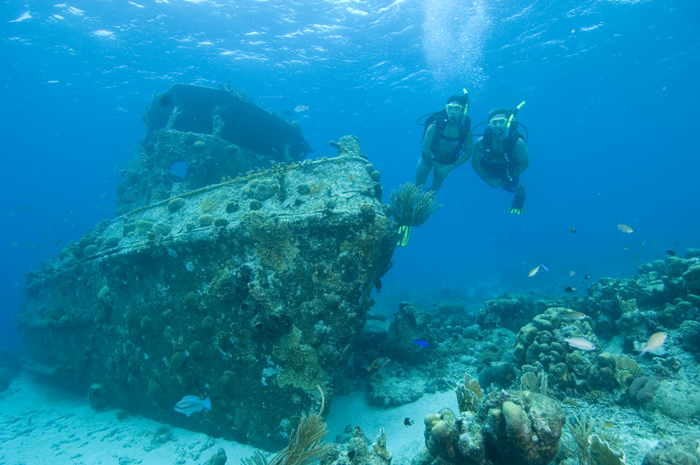
1. Pick a dive site. Sounds simple enough, right? Think about your experience level and your buddy’s experience level. Is the site you chose something you’re familiar with? Or is it a site that requires advanced skills that you and/or your buddy may not have mastered? For example, if you’ve spent most of your diving in calm water with minimal or no wave action or surge, trying to make a surf entry might be difficult. If you need to, get some expert advice and additional training before diving that site.
2. Decide on a dive objective with your buddy. Knowing what you’re both going to do can eliminate a lot of frustration. If you want to take photos and your buddy wants to zoom around on a DPV, you’re probably going to have some issues. Having a shared objective will also help you stay together. Remember, your buddy is there to help you and you’re there to help your buddy, so stay together.
3. Plan your depth & time. This can go beyond just looking at your computer and it says you can spend 50 minutes at 65 feet. Think about your air consumption and your buddy’s air consumption. If you typically empty a tank in 45 minutes, planning a 50-minute dive might be asking for trouble. You need to use either a computer or table to maintain a degree of safety for decompression sickness, but failing to think about how you use air can set you up for an emergency ascent. If you’re going to do a multilevel dive (starting at the deepest part of the site and moving shallower as the dive progresses), that will help you with air consumption and nitrogen loading. A dive computer makes this very easy. If you don’t have one, using a tool like PADI’s eRDPML digital dive planner is the next best thing.
4. Have a contingency plan. Things happen on a dive. You see an amazing school of fish and you just want to stop and watch. Without planning on it, ten minutes have passed that you’d not bargained for. Or maybe you see something that’s just a bit deeper than you’d planned to be and you want to check it out. Use your computer or dive planner to have some options. If you want to go deeper, you can’t stay as long. If you stay longer in one spot, you might need to adjust your plan. Don’t forget to add a safety stop, too. At sea-level and up to 1000ft/300m above sea level, this is three minutes at 15 feet. Above 1000ft/300m, you need to adjust your safety stop depth. Altitude Diver specialty training can help out here.
5. Make your dive! Kit up with your buddy. Do a pre-dive safety check (BWRAF-check BCDs, weights, releases, air and a final check for everything else, including any specialty equipment). Enter the water using an appropriate entry. Check your weighting and make a 5-point descent (SORTeD-signal your buddy, orient your self to something on land, swap your snorkel for a regulator, note the time, equalize your ears and descend). Equalizing your ears before you descend can really help out, rather than waiting until you’re five feet down. Enjoy your dive with your buddy, carrying out your dive objective. Ascend, make a safety stop, then surface cautiously. Inflate your BCD once you’re on the surface and exit the water.
There you go. Five easy steps to dive planning. Now, GO DIVE!